Discover the Power of Virtualization: ESXi Virtual Machine Management
Today, computer systems are becoming more powerful and complex with technological developments. These developments have allowed physical computers not to be limited to a single operating system and application. Virtualization technology is a method used to maximize this power by running multiple virtual machines on a single physical machine. Virtualization improves the efficiency, flexibility and manageability of computers while also optimizing hardware usage. Let's examine ESXI, one of the most popular virtualization platforms in this field.
What is ESXi?
ESXi (also known as ESXi Hypervisor or vSphere Hypervisor) is a virtual machine management platform developed by VMware. Virtualization technology divides physical hardware into virtual resources, allowing multiple virtual machines to run on a single physical machine. ESXi can effectively host and manage multiple virtual machines by providing this functionality.
ESXi Installation
We mount the ESXI iso to our server, then we restart our server, then the installation wizard of ESXI starts as follows,
When the ESXi installer starts, choose your language and keyboard layout. Select "ESXi Standalone Installer" and accept the license agreement. Next, set the installation target and start installing the ESXi operating system.
Select "ESXi Standalone Installer" by pressing the "Enter" key on the screen that appears.
Accept the license agreement and press "F11" to continue.
Select the installation target. If there is more than one hard disk, select the disk on which you want to install ESXi and press the "Enter" key.
We choose our keyboard.
We enter the Root Password.
We are starting our institution
Our installation is complete, it tells us to extract our iso file before restarting. Restart by pressing enter
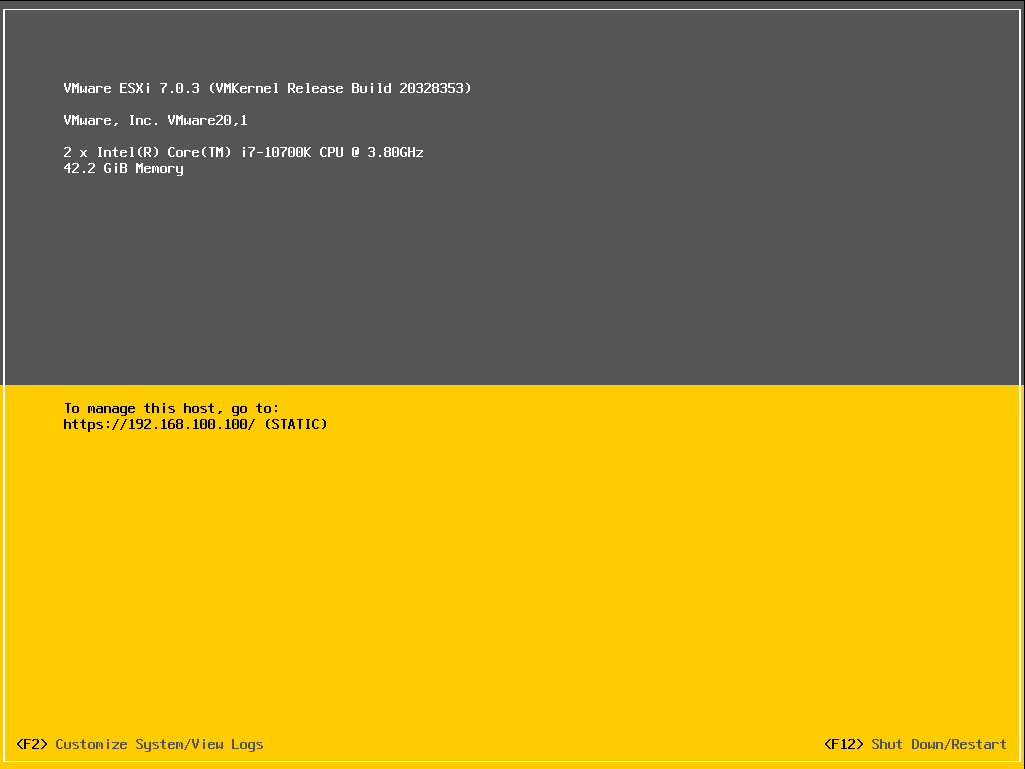
Installation is complete
To make the settings in ESXi, we press the "F2" key, and by default, the root user is available. During the installation, we set the password for the root user, so here we enter the password that we provided during the installation.
We continue with the configuration of our network settings by selecting the "Configure Management Network" option in the Settings section.
We are configuring our network settings on the screens that appear.
To confirm the changes and restart the management network, press 'Y'.

